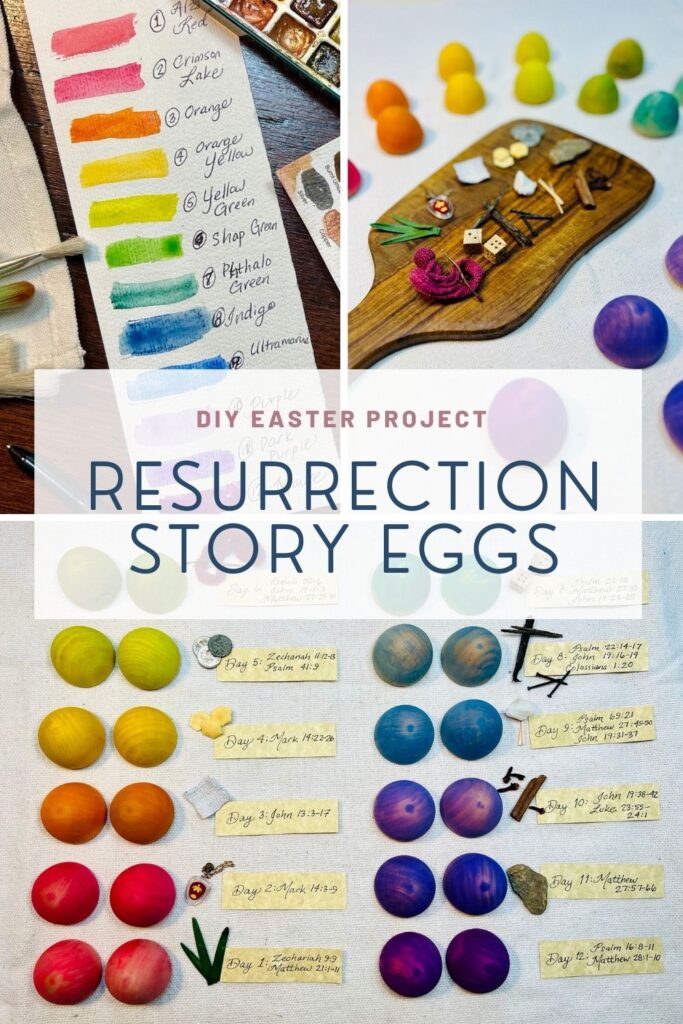
An Easter Tradition: DIY Resurrection Eggs
Every spring, as the days grow longer, the sun feels a bit warmer and the Hudson River begins to thaw, a rejuvenating sensation envelopes me as I anticipate the signs of spring. Winter decor is shuffled away, fresh new colored pillows are brought out and a new palette is unearthed for spring. A box of spring decor is unearthed from the attic and an Easter tradition is unboxed, our DIY Resurrection Eggs.
First, the pops of yellow and verdant green decor grab my children’s attention and then, I see their faces of excitement and anticipation, as they realize the Spring box has arrived. It not only holds elements of fresh and lively decor, but a box of hope-filled traditions that we unpack as we look forward to celebrating Easter.
We pull out the cardboard box that holds one of our most valued Easter Traditions; one dozen Easter eggs. Not the plastic eggs filled with jellybeans (although my kids love those too)! But 12 colorful DIY Resurrection Eggs that tell the story of Jesus and the life He lived here on earth. This box contains the sweet memories of the past, while also sharing the hope we have for our future. It’s a simple family tradition that helps us prepare and focus our hearts toward the celebration and sobriety of this holiday.
Creating Meaningful Traditions
As a mom of four children, I love traditions that are beautiful, meaningful, and simple to maintain year after year. This one checks every box. It’s a hands-on activity to do with my kiddos, allows us to reflect on the story of Jesus and the Easter celebration and creates a lovely piece of seasonal decor that my children anticipate with each spring season.
For 12 days leading up to Easter (this year we start on March 25th), we open one numbered wooden egg each day. Inside is a tiny object that represents a moment in the story of Jesus—from Palm Sunday to the Resurrection of Christ.
It’s simple, memorable, and deeply meaningful for our family as we reflect on Christ’s final days, preparing our hearts to reflect on these truths.
One of the reasons I love this activity is that it is easy to create your own set and you can enjoy it for years to come. Below is exactly how we make ours and you can do it too!
Why Our Family Uses 12 Easter Resurrection Story Eggs
Children learn best through stories and tangible objects. When kids can hold something in their hands, they remember it. They help participate each night, opening and revealing what each egg contains.
Each egg contains a small item that connects to a Bible story leading to the death and resurrection of Jesus Christ. Over the course of 12 days, the entire Easter story unfolds in a new way that children can see in a tangible way.
Instead of Easter appearing suddenly with baskets and chocolate, the season becomes an intentional countdown, centered on Christ.
For my girls, opening the egg each night has become just as exciting as our Christmas traditions.
Step 1: Choose Your Wooden Eggs
I recommend using wooden eggs rather than plastic ones. They feel special, last forever, and can be painted beautifully. They also fit perfectly into a home that leans toward thoughtful design instead of seasonal clutter.
Look for wooden eggs that:
- Open in two halves
- Are about 2–3 inches tall
- Have a smooth surface for painting
You will need 12 eggs total for this project.
Step 2: Paint the Eggs
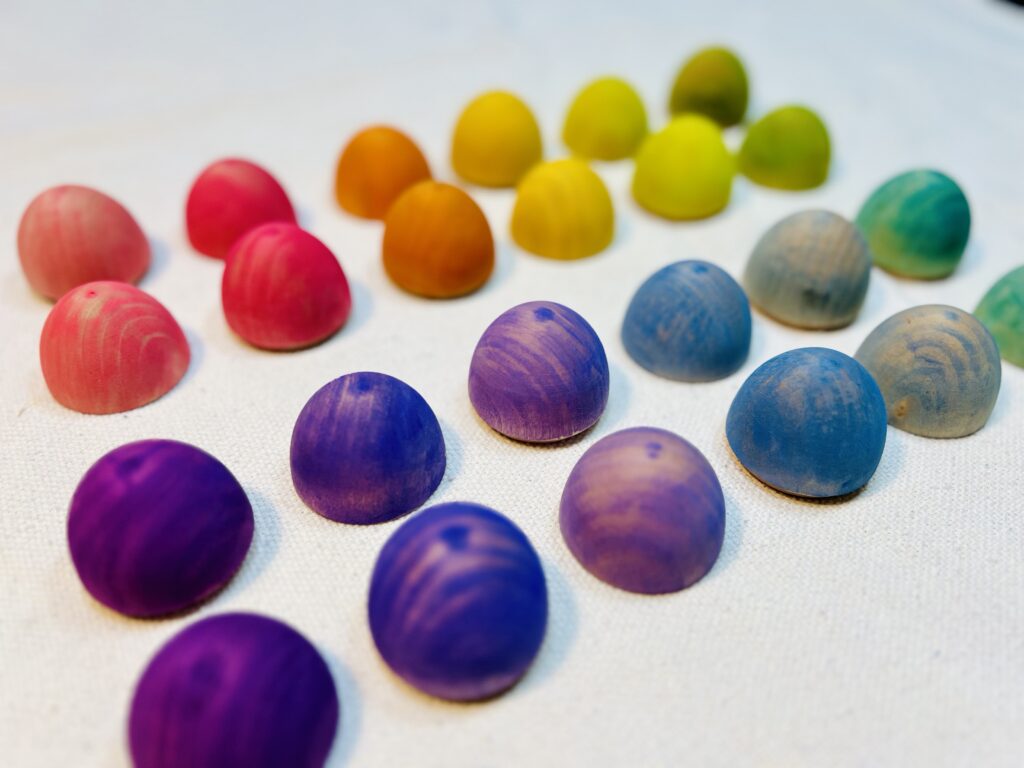
This is my favorite part of the project as you can paint the eggs to match your aesthetics and decor. I use watercolor paint to allow transparency and to see the natural wood grain. Watercolors can be mixed to your color specifications, or even to create mixed colors and marbling techniques. However, you can also use acrylic paint, wood stains or even markers for little hands and helpers.
Set up a simple painting station at the kitchen table with:
- Acrylic craft paint, watercolors or markers
- Small paintbrushes
- Paper towels
- Cups of water
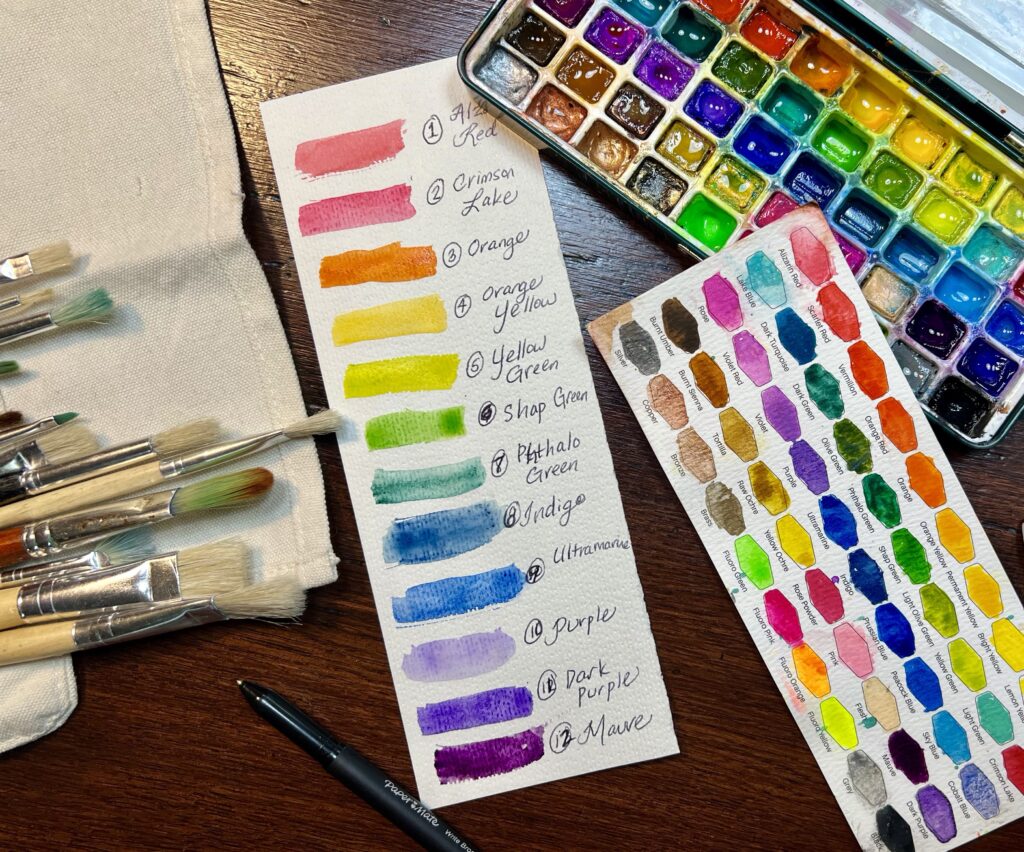
You can keep the colors soft and neutral or let the kids go bright and cheerful. Both are beautiful and will be works of art that you treasure for years to come. You can choose a color palette to play with and then let your kids be inspired to create with cohesive color choices.
Some other inspirational ideas for adding elements to your eggs are:
- Soft pastels
- Ombré colors
- White eggs with gold paint markers
- Floral patterns
- Speckles or dots
- Zentangle patterns
I always encourage families to choose colors that fit their existing spring decor or desired aesthetic. This way, the eggs feel intentional, rather than adding clutter. You can display them on a pretty ceramic egg tray to highlight their significance and intentionality.
Once the eggs are painted, let the eggs dry completely before moving to the next step.
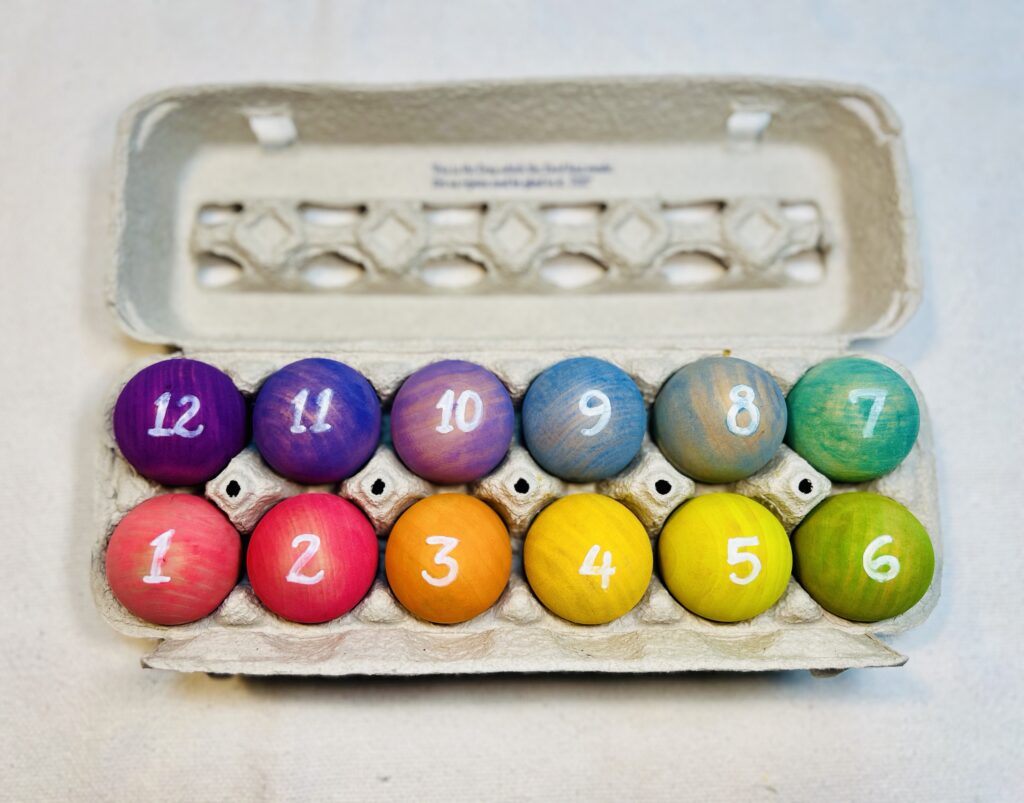
Step 3: Number the Eggs 1–12
Once the paint dries, add numbers and any decorative elements to each egg.
You can use:
- Gold paint pens
- Black permanent marker
- Vinyl number stickers
- Small hand-painted numbers
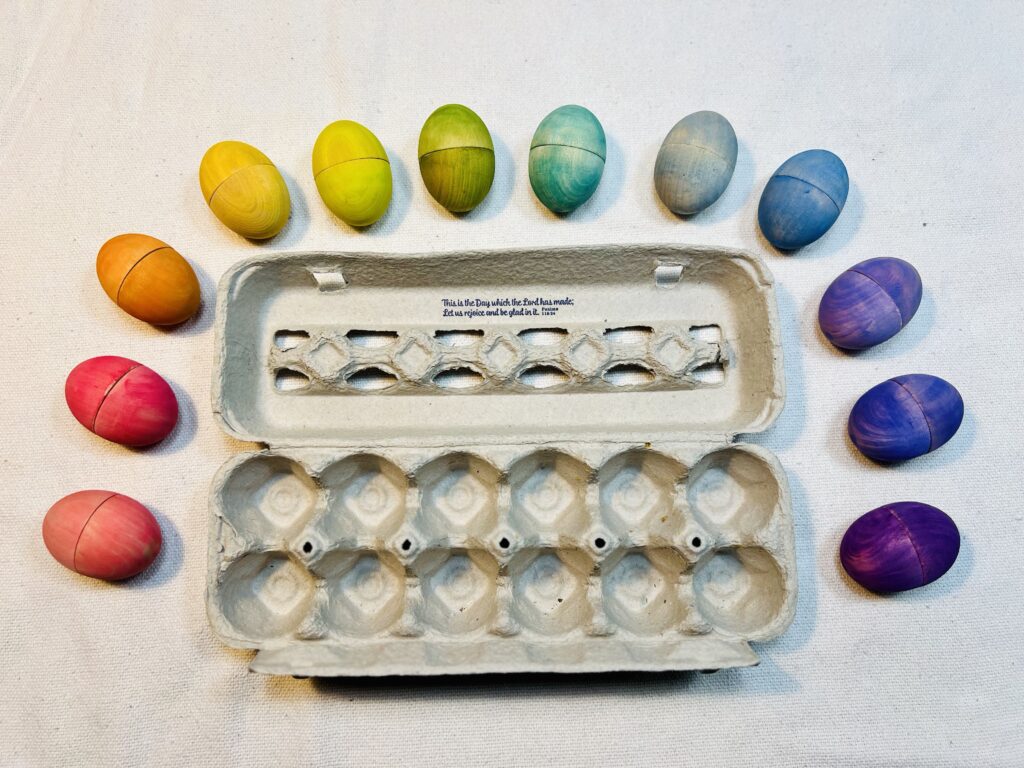
Numbering the eggs keeps the story in order and builds excitement as Easter approaches. I specifically painted my egg colors in rainbow order, not only to keep it bright and playful, but to easily discern the order, even without numbers.
Generally, when numbering the eggs, keep the numbers consistent—the same size, same color, same style—so the eggs feel like a coordinated set. Feel free to number them on the top, sides or bottom, if you prefer to focus on the design or color of the wooden eggs.
Step 4: Fill the Eggs With the Easter Resurrection Story Symbols
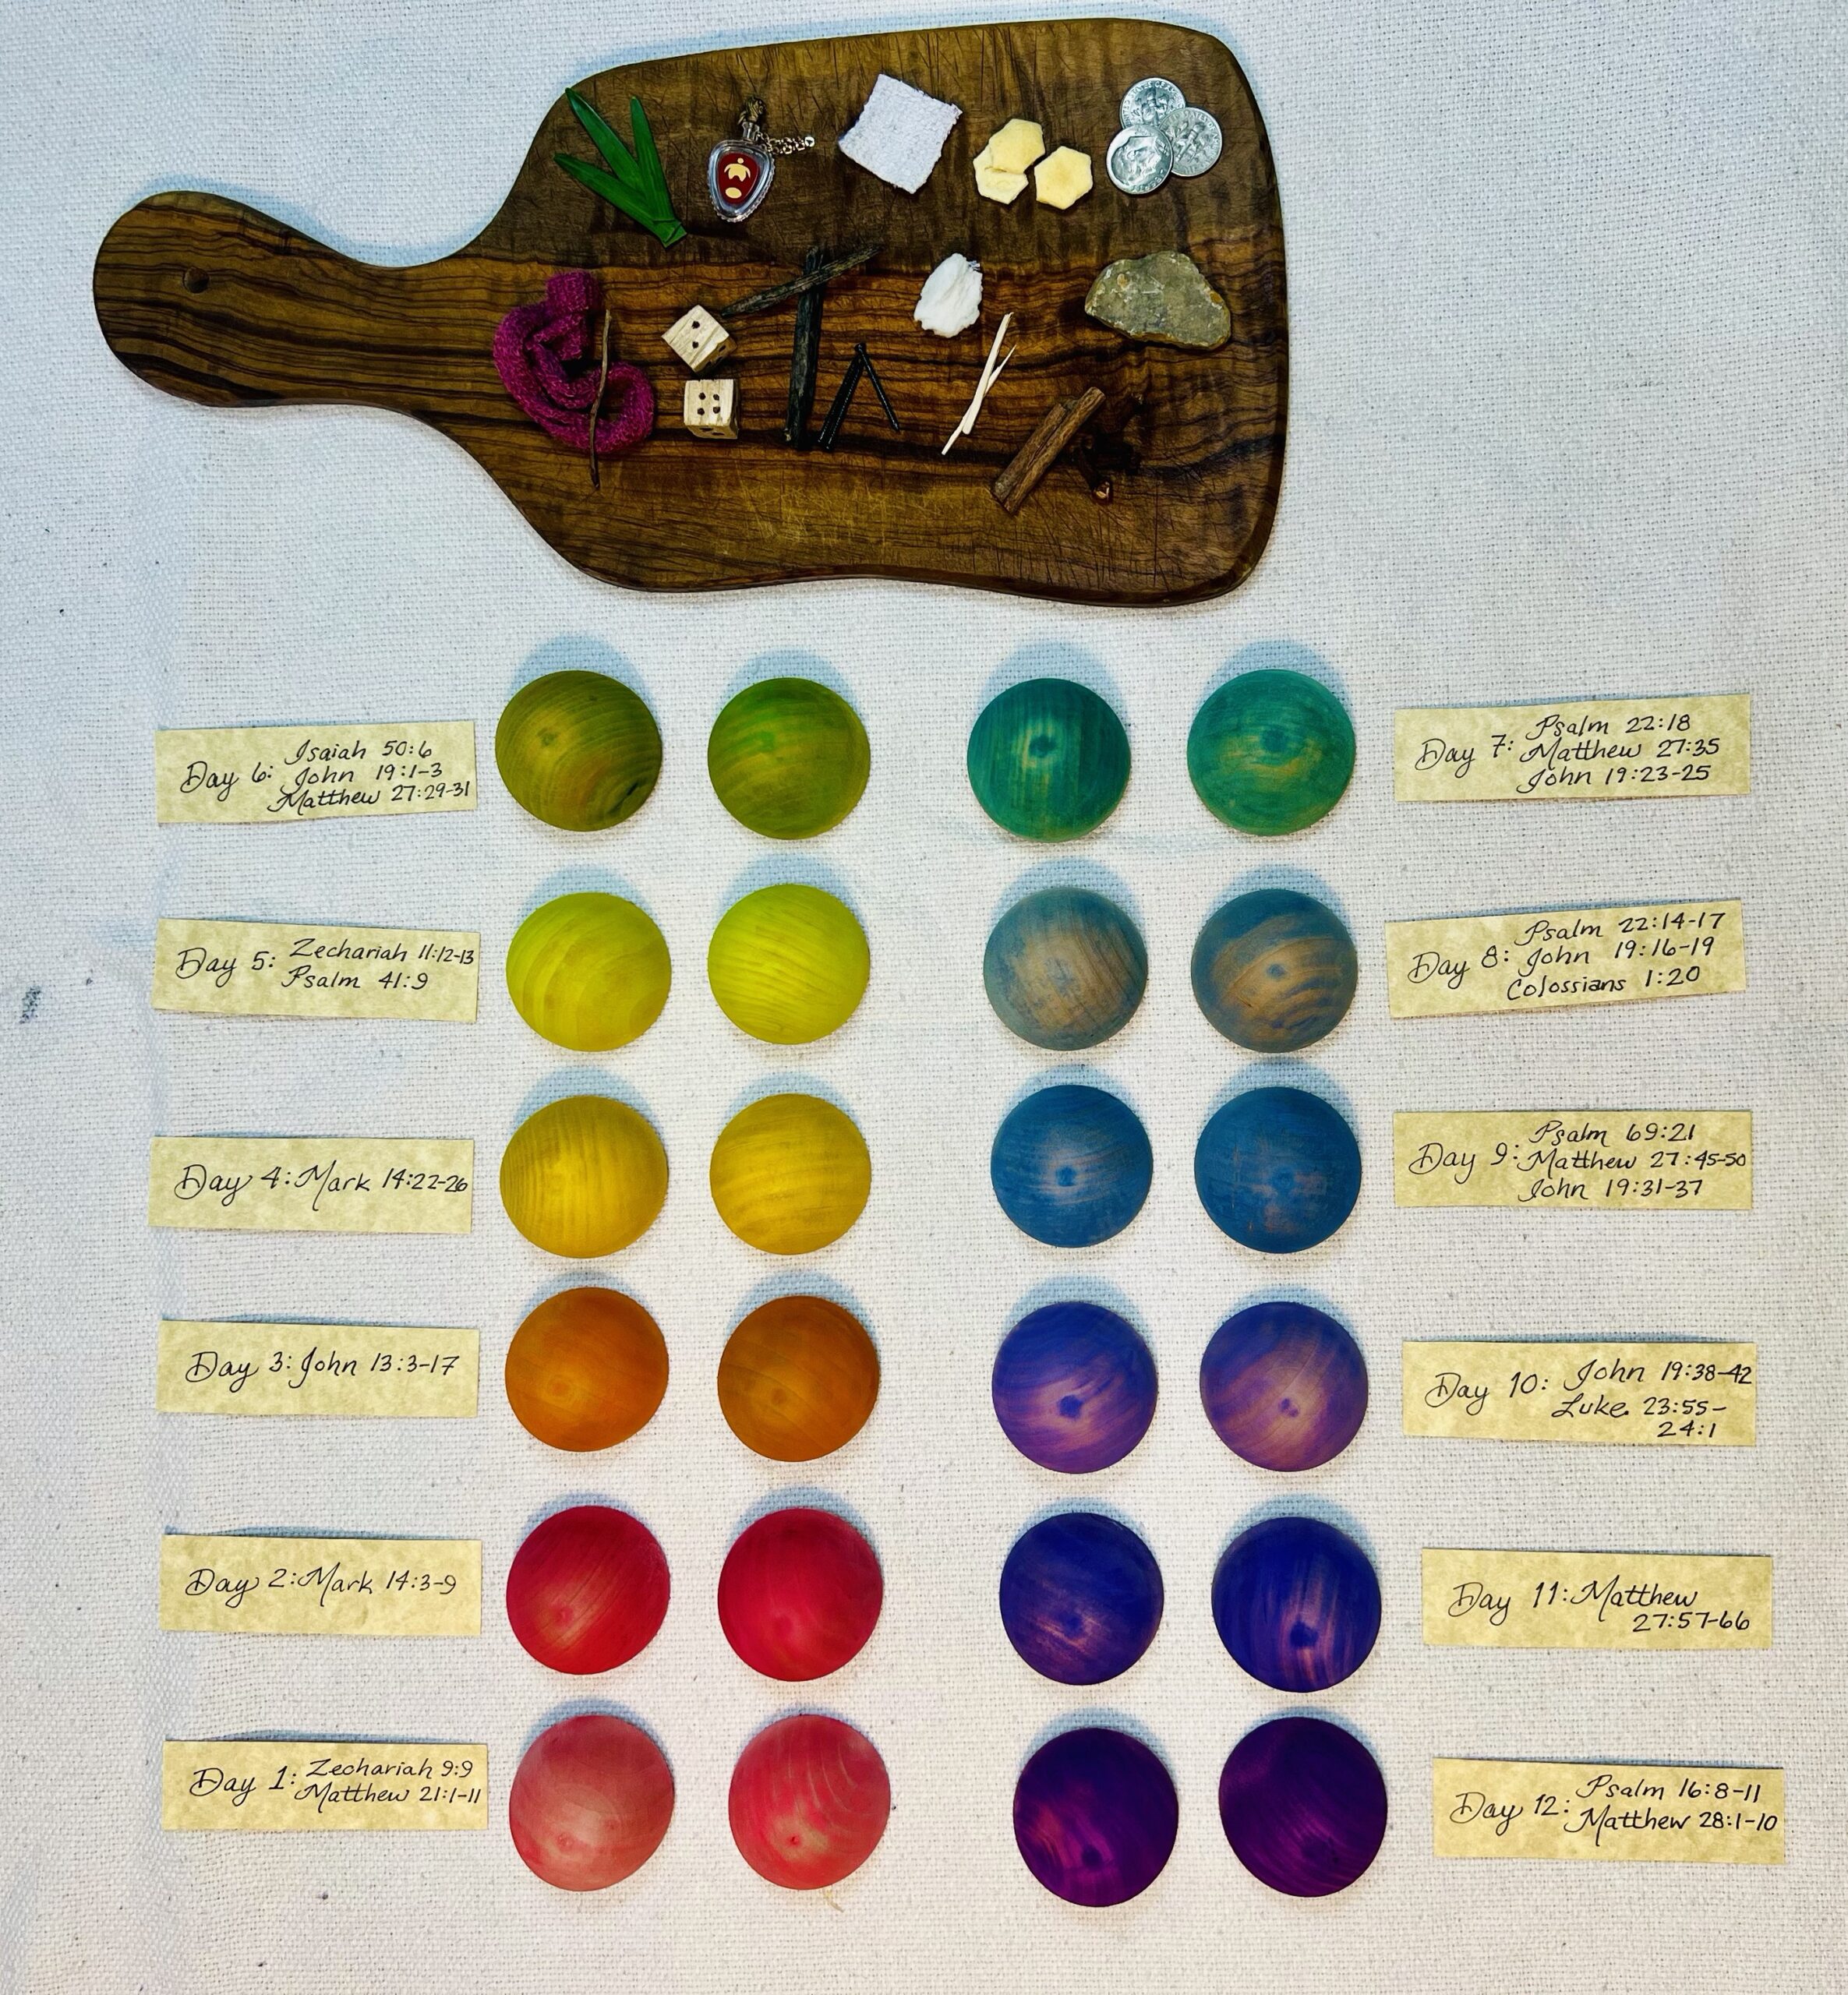
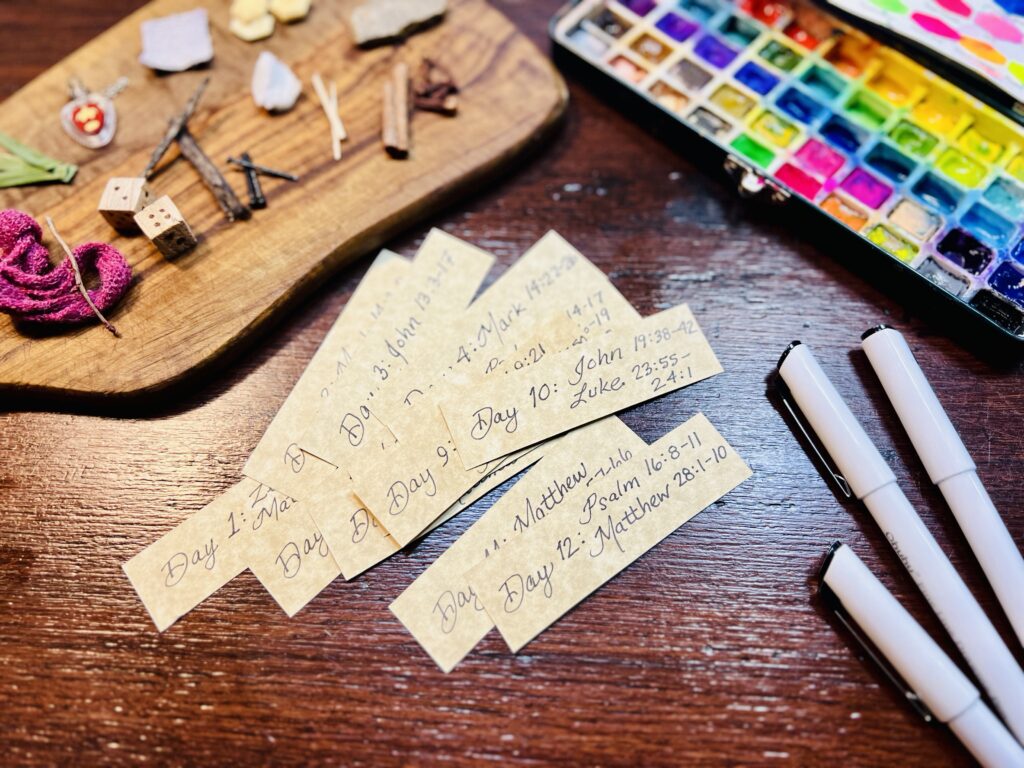
Fourthly, comes the meaningful part. Inside each egg, place a tiny object that represents a key moment in the Easter story from below. Next, write down the Bible passages on pieces of sturdy cardstock tags that match with each object. Fold the Bible passages and include them with the specific objects inside the corresponding numbered egg.
Then, each evening, open the egg, read the Bible passage, and talk about what happened.
Here is a simple version of the 12 items we use:
|
Egg #1 |
Palm Branch or Leaf |
Palm Sunday / Jesus on a Donkey |
Zechariah 9:9; Matthew 21:1-11 |
|
Egg #2 |
Perfume |
Mary Anoints Jesus |
Mark 14:3-9 |
|
Egg #3 |
Washcloth |
Jesus Washes the Disciples Feet |
John 13:3-17 |
|
Egg #4 |
Unleavened Bread (Crackers) |
Passover Meal / Last Supper |
Mark 14:22-26 |
|
Egg #5 |
Three Dimes |
Judas Betrays Jesus |
Zechariah 11:12-13; Psalm 41:9; Matthew 26:14-16, 47-50, 27:3-4 |
|
Egg #6 |
Purple Cloth & Thorns |
Soldiers Mock Jesus |
Isaiah 50:6; John 19:1-3; Matthew 27:29-31 |
|
Egg #7 |
Dice |
Cast Lots for Jesus Clothes |
Psalm 22:18; Matthew 27:35; John 19:23-25 |
|
Egg #8 |
Cross (Made with Sticks) / Nails |
Jesus is Crucified |
Psalm 22:14-17; John 19:16-19; Colossians 1:20 |
|
Egg #9 |
Sponge dipped in Vinegar & Toothpick |
Blood & Water (No Bones Broken) |
Psalm 69:21; Matthew 27:45-50; John 19:31-37 |
|
Egg #10 |
Spices (Cloves and Cinnamon) |
Jesus is Buried |
John 19:38-42; Luke 23:55-24:1 |
|
Egg #11 |
Rock |
Stone Rolled Over the Tomb |
Matthew 27:57-66 |
|
Egg #12 |
Empty |
He is Risen! |
Psalm 16:8-11; Matthew 28:1-10 |

Step 5: Create a Simple Nightly Tradition
In short, our tradition is intentionally simple.
Each evening we:
- Gather after dinner
- Open the next egg
- Read the short Bible passage(s)
- Talk about what the object means and why it is significant
Some nights it takes only a few minutes. Other nights the girls ask questions and the conversation stretches longer.
All in all, it’s a daily rhythm that steps us toward the celebration of Easter and prepares our hearts for something greater than candy in our Easter baskets.
Step 6: Store the Eggs for Next Year
The organizer in me loves traditions that are easy to maintain.
After Easter, I simply place each object back inside its egg and store the set in a small egg carton labeled “Easter Resurrection Story Eggs.”
Next spring, we open the box and the tradition begins again.
No scrambling. No reinventing the wheel.
Just a simple rhythm our family looks forward to every year.
Why Traditions Like This Matter
As moms, we often feel pressure to create elaborate holiday experiences.
However, children rarely remember the complicated things. They remember the consistent things.
The small, repeatable traditions that point their hearts toward truth.
For me, this Easter egg countdown is one small way to keep Christ at the center of our home while also creating something beautiful and memorable for my kiddos.
Furthermore, as someone who spends her days designing spaces and organizing homes, I believe traditions shape a home even more than furniture does. Traditions fabricate memories. They create belonging. And traditions help lay a foundation for our children‘s character to build upon. These memories last long after childhood, shaping our children’s’ futures. I can’t wait to see what their futures hold and what traditions they will build upon.
A Simple Way to Start This Year
For these reasons, consider starting your own DIY Resurrection Story Eggs and begin a new, meaningful Easter tradition your kids will look forward to for years to come.
You don’t need perfect painting skills or fancy materials.
Basically, all you need is:
- 12 eggs
- 12 tiny objects
- A few minutes each evening
- And a heart that wants to point your children toward Jesus
Soon, your kids will be anticipating this Easter tradition and ready to pull out these eggs at the first sign of Spring. And that is a tradition worth creating.
If you try this tradition with your family, I’d love to hear about it.
What objects would you include in your eggs?
DIY Resurrection Eggs Project Items:
*As an Amazon Associate, I earn from qualifying purchases, at no additional cost to you.
- Wooden Eggs
- Pre-colored Wooden Eggs
- Watercolor Paints & Paper
- White Paint Pens
- Liquid Fineline Drawing Pens
- Ceramic Egg Container
- Kraft Cardstock Tags
To check out more DIY projects, click here.
For Easter basket filler ideas: